A wicked good blog about homestead happenings in the shadow of Mount Katahdin, Maine. Many ramblings are sure to happen here, including, but not limited to, knitting, sewing, chickens, gardening, canning, freeze drying, general homestead wanna-be stuff (you can be a homesteader with just chickens, right?!?), and any other activities that manage to capture my short little attention span at the time.
Search World On A String Designs
Friday, June 21, 2024
June 2024 Sock Club
Once again, I dove right in to knitting the socks before taking a photo of the yarn in the hank. I believe this is a wool blend, and I think it also contains silk. It is smooth with a bit of shine. It is somewhat dense, and not bouncy or stretchy at all. The colors are shades of a dusky purple and gray. It looks amazing. I just knew a yarn this fancy needed a pattern to match.
The pattern I chose is one that has been in my Ravelry queue since December 26, 2012. That's over 11 years! Finally, Cecilia has been paroled from the pattern purgatory that is my Ravelry queue. Chalk it up to another perk of the self-curated sock club.
I am happily underway on the Celcilia socks, even though I am posting quite late in the month. Be sure to come back to see what they look like once they're finished.
Thursday, June 6, 2024
May Solo Sock Club Reveal
The Lilt sock yarn base from Black Trillium Fibre Studio was an absolute delight to knit. The 85% superwash merino and 15% mulberry silk not only was pleasant to handle, but it also resulted in gorgeous stitches.
For a yarn dyed with neutral colors in a speckle pattern, I have to say that I think this dye job is impressive. There's a depth to the finished yarn that I find enchanting. If you're also smitten with it, you're in luck - both the base and the colorway are available from Black Trillium Fibre Studio. You can find it here.
Behold my finished socks!
Leave a comment if you would like me to share my vanilla sock pattern!
Tuesday, May 7, 2024
May Sock Club
Yet again, I have paired this with a vanilla sock pattern so that the speckles would show well. I'm not entirely sure that this was necessary, but I do enjoy a good knit that I can work on without referring to a pattern, and this one fits the bill. Leave a comment if you would like me to write up a pattern for my vanilla socks. There were 6 bags out of 12 assigned to be vanilla sock patterns, so there are only 2 more remaining for 2024; there are 5 remaining patterns for which I will work from a pattern and will share a link for each respective one.
I am thoroughly enjoying the Lilt sock yarn base. It makes a delightful fabric. The fiber content is 85% superwash merino wool and 15% mulberry silk. This would also make a great yarn for any next-to-skin projects, such as scarves or shawls. Stay tuned to see my finished socks!
Monday, May 6, 2024
April Solo Sock Reveal
These were knit using my vanilla socks pattern. Leave a comment below if you would like me to write up and share the pattern. Stick with me on the sock club. Half of the sock patterns are vanilla socks. I have my husband choose the bags at random, and I know we have been rather vanilla-sock-pattern heavy so far this year, but that just means that things will get more exciting as we continue. I will have some great patterns to share and amazing socks to show off.
As you may notice from the photo for the April socks, it appears that the skein of Delusional was a bit bright-green-heavy at the beginning of the skein. The legs of the two socks look considerably different. Given that they are "Zombie socks," I think it works well. I'm not sure you could expect zombies to putrefy at the same rate as one another. I'm going to chalk this up to creative license and label it as charming. I have cracked into the May yarn and started those socks...stay tuned, and I will have an update in a few days showing you the amazing yarn and what socks I have planned. Cheers!
Saturday, April 6, 2024
April Solo Sock Club Yarn and Pattern
In any case, a new month equals a new sock knitting project. As per usual, I asked my husband to choose a bag at random for me. The yarn is Fiber Addiction's Delusional base in the Runner #5 colorway. This is a blend of 80% superwash merino, 15% nylon and 5% Stellina. The colorway, Runner #5, is a nod to the content of the Zombies, Run app, which is similar to a Couch-to-5k program. There is audio content that tells a story. The listener is assigned the positon of Runner #5 in a post-apocalyptic world, where runners are sent out to deliver messages, collect supplies, etc, in support of the compound where they shelter. Some of the episodes have zombies chasing you...it's a pretty fun twist on a training program.
So there it is - this is a zombie yarn. I did pair this yarn with a vanilla sock pattern, as I didn't want it to look too busy. To be frank, I could use a nice easy sock pattern that I can sail through quickly, and this pairing is sure to deliver. I have tried to look up the vendor to see if the yarn is still available, but that does not seem to be the case. Remember, this is some deeeeeeeep stash yarn I have selected for this monthly club. I am thrilled that it is finally getting its time to shine after having been held captive in a tote in the basement for nigh on a decade; however, one drawback is that I may be tempting you with fun and fabulous yarn that you may not be able to obtain. My apologies on that end.
Of course, I am still me, so I finished the March socks and cast on the April socks within about 15 minutes of binding off. I did not first get a photo of the yarn in its beautiful hank before I caked it up. Someday. Just not today. I am a work in progress, much like these socks. Check back to see what they look like when finished.
Thursday, April 4, 2024
March Sock Club
This project was a two-at-a-time toe-up version. I wanted to get to use every last bit of that lovely gradient dye job. I am horribly slow at knitting two-at-a-time socks. Adding insult to injury, because I wanted to use all the color, these are darn-near knee-high socks. I typically knit about 6 inches of height onto my socks and then have oodles leftover from a skein. Knitting every last bit of this yarn meant a sock project that felt to me like it was taking forever.
The pattern that I used for these was Laxo Socks, by designer Laura Nelkin. It uses a clever stitch that doesn't require use of a cable needle. One less thing to lose track of, I say! Although it felt as though I would never complete these, one benefit of knitting two-at-a-time socks is when one is done, both are done - no second sock syndrome! I do have to admit that it was very gratifying to finish these up at the same time.
I do love the color gradient on these, and it wouldn't have seemed as balanced without the darker shades at each end of the socks. I also found the cable pattern to be very lovely.
Despite my impatience and my slow knitting skills, I would classify this as an enjoyable combination of pattern and yarn. Unfortunately, it doesn't seem that this brand of yarn is still available. This was a deep dive in the stash from about a decade ago, and it was produced by an indie dyer who it appears is no longer in business. My apologies for not having a link to share to find the yarn, but I am sure there are similar offerings out there, and perhaps you could find your next favorite indie dyer. Please comment if you have a favorite or a recommendation for a gradient sock yarn.
It took me all of 3 minutes after completing these to open up the next bag in my Solo Sock Club series, skein it up and cast on. I even forgot (AGAIN) to take pictures of the yarn in the hank before I wound it up. One day I will exhibit some temperance and self control and remember to snap some pics before impulsively casting on a new pair of socks.
I have a post coming soon showing off the April Solo Sock Club yarn and pattern, so stay tuned!!
Sunday, March 17, 2024
Harvesting Maple Sap
Once sap is collected, it must be boiled down. It takes approximately 40 parts of sap to produce 1 part of maple syrup. I use sap taps with a hook, and then hang a bucket with a lid from each one. I only have two maple trees, though. Many people now use tubing to direct to a bag or bucket on the ground, or for those with many trees, they might set up a network of tubing from each tree that converges and combines in one central location at the lowest elevation.
So, for the next few weeks, I will be watching the sap fill my buckets, then collecting them each evening and boiling them down. It will keep me distracted until the weather is mild and it's time to put those seedlings in the garden.
Wednesday, March 13, 2024
Quick March Sock Update
Here is where I stand with March's project: Generally, I consider when the heel is turned on a sock that I am about halfway through. These ones may not be quite so far along, as I usually do have a significant amount of yarn leftover when my socks are finished, but in this case, I will continue knitting in pattern until I run out of yarn. I also tried them on at one point and didn't think there was enough length for my toes to be comfortable, so I ripped it back to the gusset increases and added about another 3/4 inch in length. Overall, I feel just about on target with these. I am ~about~ halfway done with the socks and also ~about~ halfway through the month of March. I'll continue to try to get about 30 mintues a day in on sock knitting before moving on to other projects. I am loving the way the gradient is working up on these. Next up is starting the mock cable portion of the pattern, and that's when the pattern really starts to shine. Stay tuned!
Sunday, March 10, 2024
Starting Seed Starting
Today is also the day I started my first batches of seeds for the garden. We are about 11 weeks out from the last frost date in my growing zone, so I started my onion seeds and pepper seeds today. I also finally got around to dealing with the last of the peppers from the 2023 harvest. We generally have good luck with peppers here. I had perhaps 6 or 8 jalapeno plants, 2 habanero plants, 2 cayenne pepper plants, 2 hot banana pepper plants and 2 sweet pepper plants. We had a great jalapeno harvest; I canned 12 pint jars of jalapenos. I also had enough to can 2 jars of hot banana peppers and 1 can of habaneros. I had planned the habaneros to be used for salsa, but unfortunately my tomato plants all had some sort of blight, so I didn't harvest any in 2023. I think it was due to the insanely soggy summer we had here. It rained way more than usual, and I don't think I needed to water the garden more than twice all season. It was great for the cucumbers, so not so much for tomatoes. You'd think then that we would have an excess of hababeros, but no - the pint jar I put them into broke in the water bath, and they were a complete loss. I did have some left that I tossed into the freezer whole. Those went into the freeze dryer today, along with the cayenne peppers that I dehydrated last fall. I didn't receive the freeze dryer until late November 2023, so it was past the time for harvest preparation for the most part. As the cayenne peppers were already dehydrated and the habaneros were already frozen, these were easy and suitable to toss into the freeze dryer. Then I can either crush them and add to a recipe or rehydrate them for another use. The cayenne peppers likely will not rehydrate well, as they were dehydrated prior to going in the freeze dryer, so those are likely to be crushed into flakes or powder. These are all now processed and safely tucked away into shelf-stable food storage. I am loving the freeze dryer, and I think this will be a game changer in the fall for not letting my hard work in the garden go to waste. I can be canning WHILE I am freeze drying. It's also a shorter active time commitment to run the freeze dryer as compared to the canner. Once the freeze dryer is going, I can step away and let it do its thing...which may take overnight. I tend to only run the canner (pressure canner or water bath canner) on the weekends, but I will often run the freeze dryer during the week and just swap it over outside of working hours.
So while the 2023 pepper processing has come to a close, the 2024 season has kicked off on the same day. I am always excited to set the first seeds of the year into potting soil, as I look forward to a new growing season. I may not be the best gardener, but I keep trying, I get a little better each year, and I always learn something new. Here's to the 2024 growing season!
Friday, March 8, 2024
Fuchsia Fairy
Wednesday, March 6, 2024
March Solo Sock Club Yarn and Pattern
This is how the yarn looked before I lost control and cast on. The bottom set is closest to these colors.
The yarn is Bashful Gradient Dyed Cupcakes, which was previously sold under Bashful Bags and Fibers. I followed a link to their etsy page, but it doesn't appear that they still have any active listings. If you really want to get your hands on some, you might get lucky and find a stashed set on ravelry with which someone would be willing to part. For this yarn, I really want to use up every little bit of that scrumptious color. I've opted for a toe-up pattern, Laxo Socks. Using a toe-up pattern means that I can keep knitting until all the yarn is used up, ensuring I get all of that lovely color worked into my project. I can't wait to see how these ones turn out. Since I already have a head-start on March, I will likely have these finished well before the month ends.
Monday, March 4, 2024
February Solo Sock Club
Saturday, March 2, 2024
February Solo Sock Club Yarn and Pattern
Monday, February 5, 2024
January Solo Sock Club
Saturday, January 6, 2024
Solo Sock Club
When I saw the original post and decided I wanted to do this also, I was mid-project on a pair of socks. I was determined to finish them ASAP so that I could dig into the first bag of my 2024 Sock Club. Never had a project FELT like it took so long. I did complete them yesterday, and immediately asked my husband to choose a bag for me. He graciously obliged, and I opened it to find this: This is a skein of yarn that was hand dyed by me and was originally dyed for my Etsy shop. It never did sell, but it was always a favorite of mine, so I pulled it for my sock club. This is the only skein out of the year that I dyed myself. It is a blend of 75% superwash merino and 25% nylon. The colorway is called Caramel Apple. It works up with short bursts of mini stripes in the contrast color. I'm nearly ready to turn the heel on the first sock. Due to the way that the colors in the yarn will work up, I opted for a vanilla sock pattern in this case. I find that in knitting projects, either the colors or the textures will pop. For yarn with lots of colors, a simple pattern will show them off. For a pattern with oodles of texture, a solid and light-colored yarn will really show off those pattern details. I am using a plain pattern here to allow the dye job to really shine in my finished socks. I will post the finished socks once they are finished. Follow along, as I will have updates on all of the monthly sock knits.
Thursday, December 28, 2023
How to Render Lard
We use lard a lot for frying eggs or meat, or for anything we want to make crispy. I often make freezer batches of breakfast burritos, and when put in the microwave, the tortillas get soft and sometimes soggy. I heat them in the microwave, then finish them off on the stove in a bit of rendered lard. They crisp right up and taste amazing. Lard is also great for frying pretty much anything and gives delightfully crispy results. So *how* does one home render lard, you ask? Great question; I'd love to tell you. Our pig fat comes from the butcher in a large, several-pound package, vacuum sealed like our meat. I use a crock pot to melt it down, and the first step is cutting up the fat. I start with the fat frozen solid. It takes a bit of elbow grease to get through the thicker parts, but as the fat warms it will start to melt on hands and can make the process quite slippery. I start by cutting the fat down into big strips that are no wider than my knife is long. Then, I cut off slices about 1/4 to 1/2-inch thick. Next, I cube these down, then add them to my crock pot over low heat. The smaller the chunks, the faster the lard will render. You certainly want them to be chunks of 1" or less. I aim for 1/2 to 1/4-inch chunks, and this is often led by how much available time I have to dice it up - on a busy morning, the pieces are larger. If your butcher will grind it for you, or if you have a grinder, such as this KitchenAid attachment, then it will significantly cut down on processing time. I have the KitchenAid attachment, but I normally just cut it up with a knife, as I don't want to bother cleaning fat out of the grinder attachment and typically I don't mind if it sits in the crock pot a few hours longer. As the fat heats, it will gradually melt. I come back every couple of hours, and when there is enough liquid, I simply scoop some off the top and store in a Mason jar. I do filter my lard, and I do this with a funnel and cheesecloth. As you can see, the liquid fat is an off-white color and semi-transparent. As it cools, however, it will harden into a snow-white solid in the jar. I highly recommend givnig this a try. Your home-rendered lard can serve a replacement for anything you'd use lard or Crisco to prepare in your kitchen, and it does it without unhealthy trans fats. You will gain more control and confidence about what you are consuming, where it came from, and how the animals were treated. If you don't have access to your own pig fat, you may be able to obtain some from your local butcher - it's worth an ask. Leaf fat is the prime material for this job; it is the fat around the kidneys of a pig. This was prepared with back fat, which contains more meaty bits. I find that the first draw of liquid from the back fat is completely suitable for pastry baking, and it has an odorless product. The closer you get to the end of the render, there may be more color and potentially a bit of a piggy flavor...sort of like bacon. This is great for frying eggs, making biscuits, or any savory type of cooking. Just save your first draw and label it well for pastries and sweets.
Thursday, December 7, 2023
Wee Wildflower Gifts and Easing in Sleeves in Seamed Knitting
I start by marking the midpoint on the sleeve, and identifying the top and bottom points in the armhole. Then I loosely put the sleeve in the armhole. Next, I line up the midpoint of the sleeve with the top of the armhole, and the ends with the bottom of the armhole, and then I secure these points with sewing clips. Next, I work my way around the armhole, stretching and securing the sleeve so that it is eased in to the full space of the armhole and is also evenly distriubted throughout. During this process, I will stretch, inspect, shift and secure until I am satisfied that the sleeve is properly positioned and stretched evenly all the way around. At this point, I secure a piece of yarn and sew the sleeve in place using the mattress stitch and removing clips as I go around. I have always been pleased with the results when doing it this way, and I haven't had to pull it out and start over, like I did before I started using this technique. The sweaters are complete now and have been gifted. I hope the recipients enjoy the sweaters as much as I enjoyed crafting them. Next up on the needles are a few Christmas presents...stay tuned!
Tuesday, November 28, 2023
The #1 Plant Every Apocalypse Garden Needs
Having been impressed with the hardiness and yield of this handful of beans, I saved my small harvest and planted an enire row the next year. My goodness. Have I mentioned that while I enjoy gardening, I am overall rather new and not very good at it? My (very minimal) effort yielded 4 cups of dry beans. I never would have expected that black beans would be a good crop for Maine, but I was pleased! What I found most impressive was how I could completely ignore these plants and still have what I consider to be a successful harvest. This year, I planted 2 rows of the black beans. Here they are, living their best bean lives, suffering my neglect, yet still producing for me: 
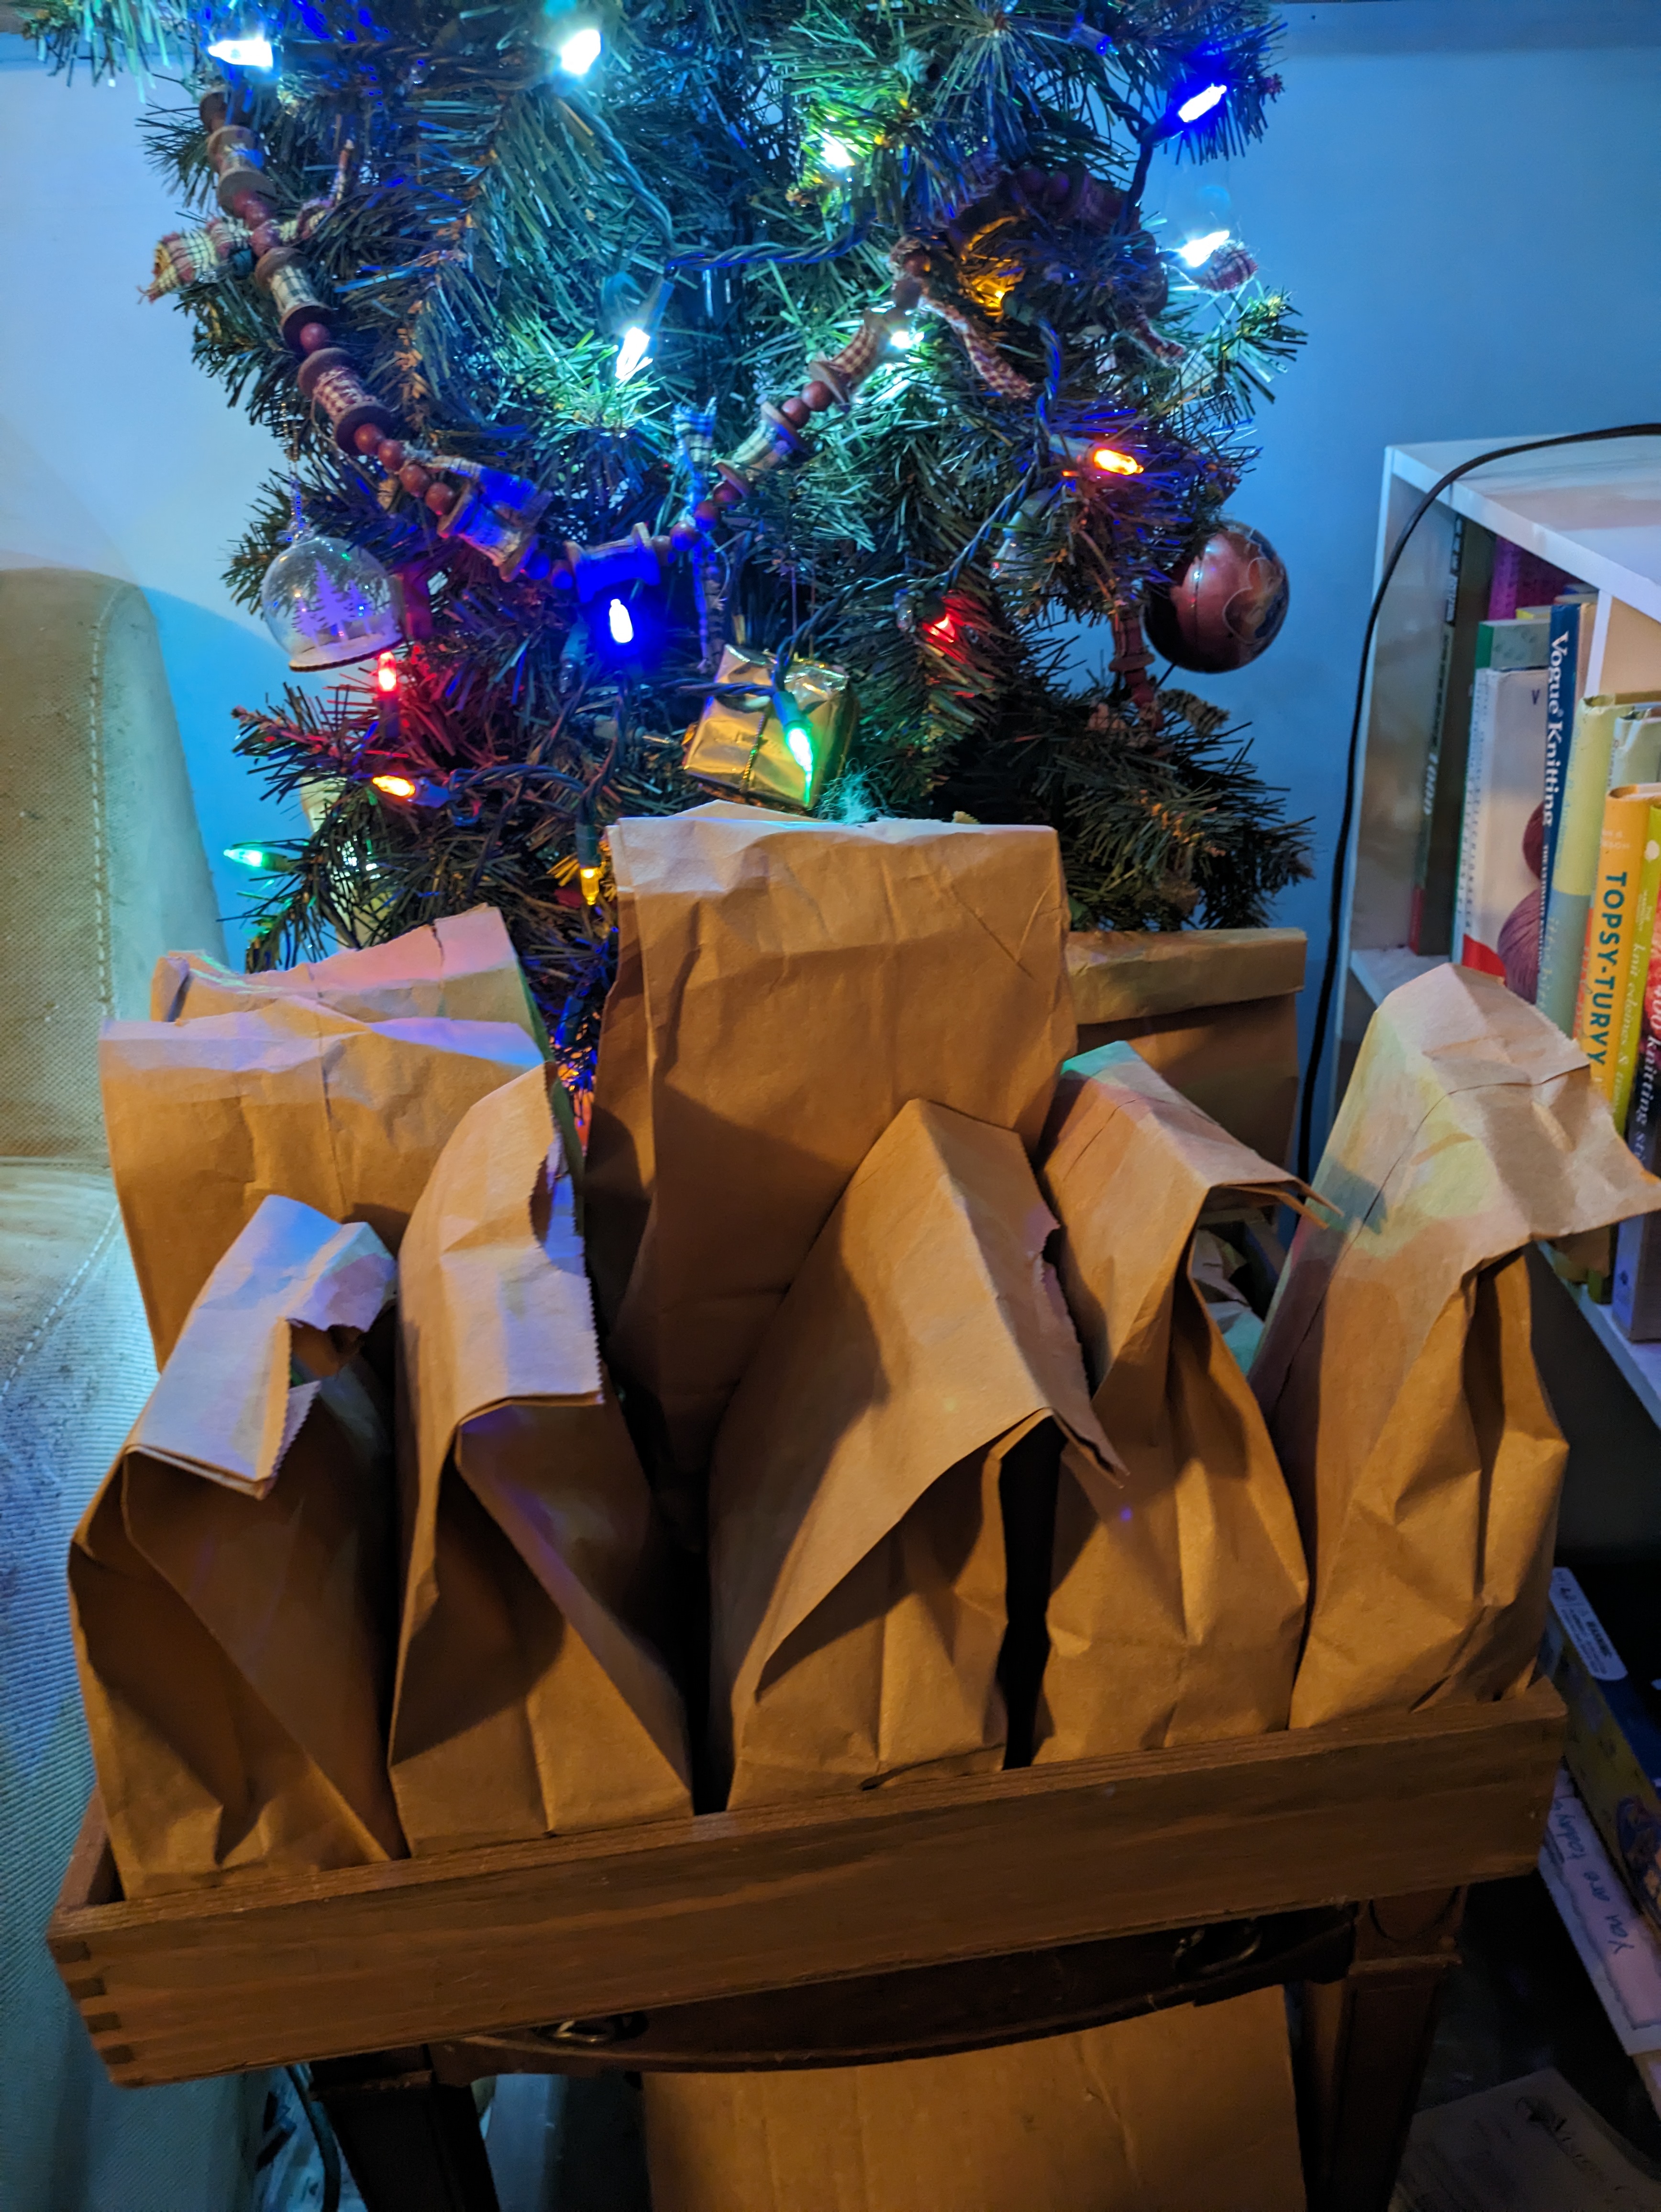
We did have an unusually soggy growing season this year in Maine. I tried to choose a day to harvest when they would be mostly dry. I ended up with a respectable amount in my Hannaford tote bag. (Note that I invested in the weed barrier cloth this year)
Because the pods were still a bit damp when harvested, I did cycle them through my dehydrator to dry them out. Alternatively, you could pull the plants and hang upside down to dry out, but I am limited on space, so dehydrator it was for me. Then, I let them sit like the patient little harvest they are until I had time to deal with them. I shucked them a little at a time over several weeks. My 2 rows of black beans yielded 12 cups of dry beans, which is about the equivalent of 24 cans of black beans from the grocery store. I also planted one row of Flambo beans (from Johnny's Selected Seeds), and that resulted in a little more than 4 cups of dry beans. Right now, they are sitting in a jar, although at some point, when I am gosh darn good and ready, I will can them up. The beauty of dry beans, though, is that time can be whenever. Last year's bean harvest didn't get canned until about May, and they are just fine. I do like canning them up, as they at that point only need to be put into a recipe or reheated, without all the soaking and planning. However, whether to store dry or can the beans is really a personal preference. So, why do I suggest that dry beans are a top crop for my apocalypse garden?
1) Easy to Grow. First of all, they are super hardy. You can be busy with obtaining clean water, fighting off zombies and tending and protecting animals (or working, for a non-apocalypse scenario) and not worry that your crop will not produce or will go by while you're off doing other things. Life happens. So should your garden.
2) Beans are a fabulous source of protein. While most of the plants in my garden are lacking in this area, beans really step up. If you couldn't count on the grocery store to provide your nutrition, obviously you'd have backyard chickens for eggs and maybe a few scrawny roosters for meat. But if you had raccoons, foxes or fishers feasting in your yard, the beans could help round out your protein content of your home-produced food while you waited to hatch and raise replacement chicks.
3) Cooking Versatility. From bean dip, to soups and stews, to salads, quesadillas and burritos...there are lots of ways to use beans.
4) Easy-to-Harvest Seeds. Once you buy your first beans (or save some from a bag before cooking dinner), you need only save out a handful of beans at the end of each season to be able to continue growing them indefinitely. No waiting on seed orders long after society and the Postal Service have collapsed.
5) Ease of Long-Term Storage. If you don't have time to preserve your harvest or if you don't know how or don't own a canner....you'll be just fine. Simply get the beans dry and collect them and store in a cool, dry location. They will last a long time with almost no effort, and they are very forgiving. If preservation is a skill you possess, you certainly may can them, but if you don't have experience with it, you'll get by just fine.
6) Improve Soil Quality. Beans are nitrogen fixers, so they help enrich your soil with nitrogen. This comes in super handy on next year's planting, if you plant your heavy nitrogen feeders, such as tomatoes, cukes, squash or cabbage, where your beans grew the previous year.
In all likelihood, we are not anywhere near one plant being the lynchpin of survival, but I do hope you'll give dry beans a try in your garden anyway. They are super easy, super delicious and pack a big nutritional punch as well.


